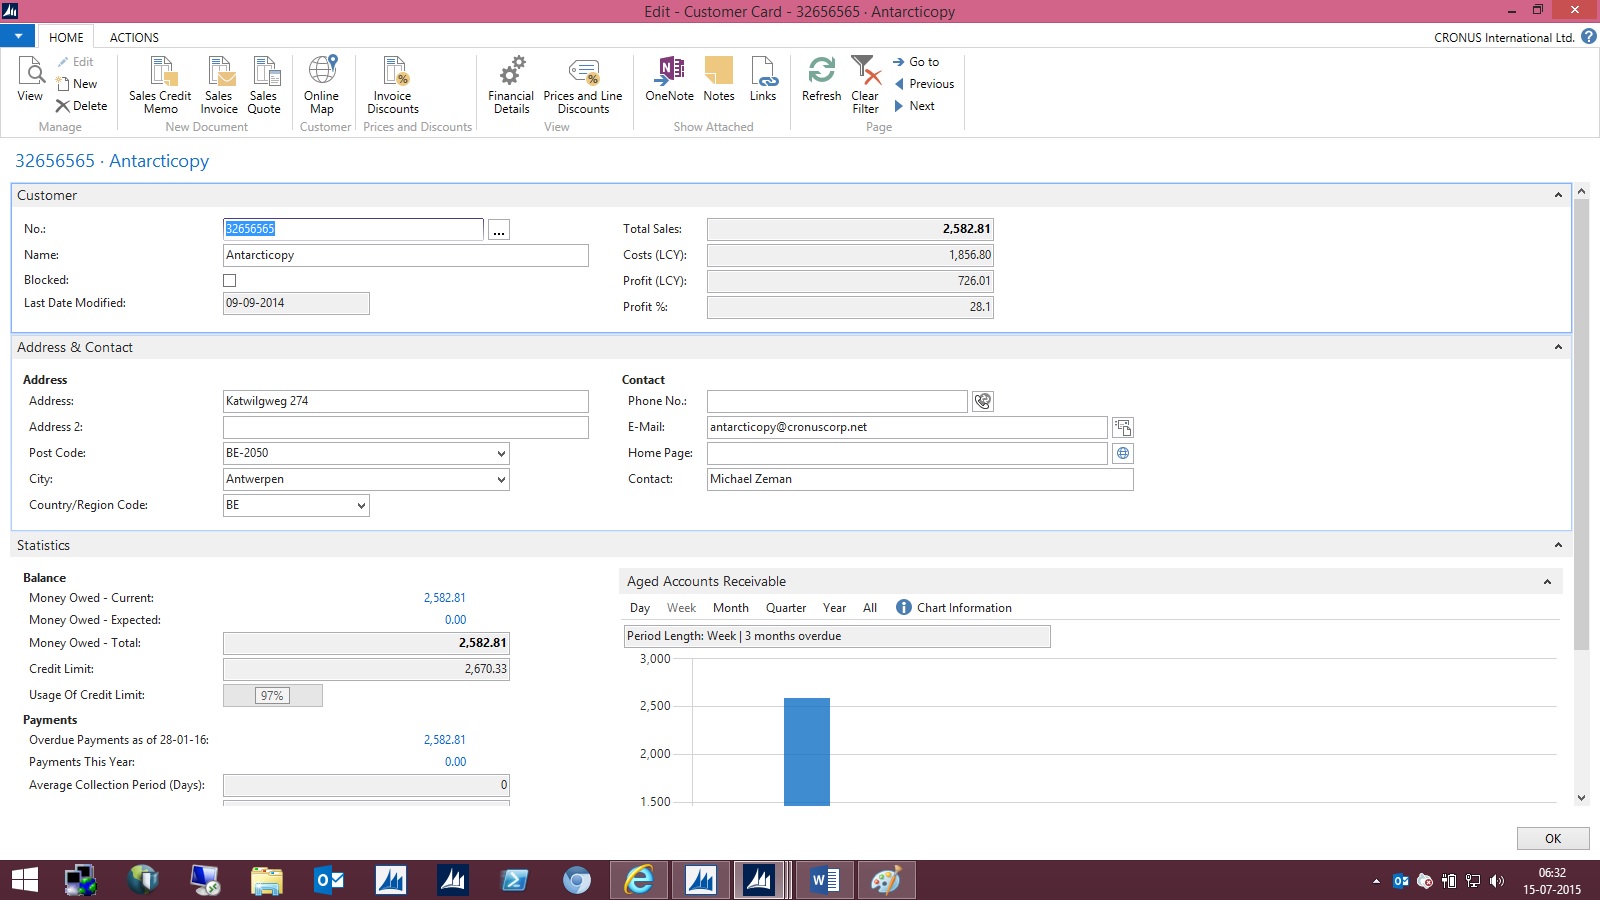
The new Report Scheduling feature for end users running reports:
- End user can schedule reports for later execution.
- User can get to his next task quicker.
- User has an inbox part for viewing the scheduled reports.
A. Setting up the job queue to run a reportMy Customer needs to run a number of long running reports and does not want to wait for them to complete.
The scenario is simplified because a typical customer setup would involve setting up a NAS instance to process the reports.
* Open the
Job Queues page.

* On the Home tab, in the
New group, choose
New to set up a new
job queue
* In the
Code field, type
Reports.
* Fill in the
Description field
My Report Schedule.
* Leave the
Job Queue Category Filter field blank.
* On the
Home tab, in the
Process group, choose
Start Job Queue.
* Close the Job Queue Card

A job queue with no filter runs the reports.
In many customer installations, the reports will be picked up by the DEFAULT job queue
B. Adding the Report Inbox to the Role CenterMy Customer wants easy access to the reports that he has scheduled, so he adds the Report Inbox part to the Role Center page.
* To open the Role Center page that you want to customize, in the navigation pane, choose the
Home button, then choose the
Role Center menu item.
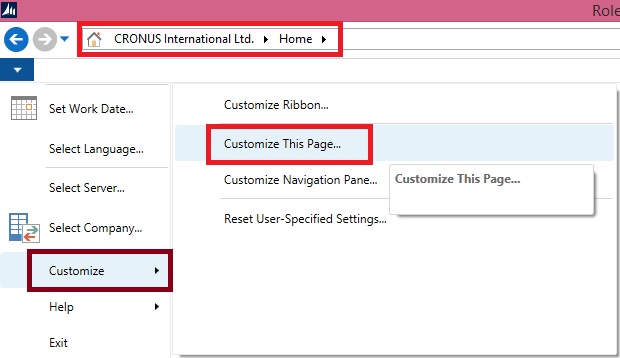
* On the
Application menu , choose
Customize, and then
Customize This Page.* In the
Available Parts pane, select
Report Inbox, and then choose the
Add button.
* To move the
Report Inbox part to top of the second column in the Role Center layout pane, select it and then use the Move buttons.
* (Optional) To add the
My Job Queue to the Role Center, in the
Available Parts pane, select
My Job Queue, and then choose the
Add button.
* (Optional) To move the
My Job Queue part below the
Report Inbox in the Role Center layout pane, select it and then use the Move buttons.

* Verify that the
Report Inbox appears in the Role Center.

C.Scheduling a report and viewing the result* On the Role Center, on the
Report tab, choose
Customer Order – Summary.* On the
report request window, choose the
Print button, and then choose Schedule

* In the
Schedule a Report window that appears, in the
Description field type a different text.
* In the
Report Output Type field, select the down arrow, and choose
PDF.
* Choose the
OK button
.
* Go to the
Report Inbox on the Role Center and show that the report appears when it is finished running.
* To
view the report, select it in the
Report Inbox, and then choose Show.

D. When a scheduled report fails* Open the Role Center.
* On the
Application menu , choose
Customize, and then
Customize This Page.* In the
Available Parts pane, select
My Job Queue, and then choose the
Add button.
* To move the
My Job Queue part below the
Report Inbox in the
Role Center layout pane, select it and then use the
Move buttons
* In the Role Center, go to the
My Job Queue part.
We have already done above step in above steps. Let’s continue with next step. If not already done follow the steps as defined above.* On the Role Center, on the
Reports tab, choose
Price List.
* In the
Sales Type field select
Customer.
* To schedule the report to run later, choose the
Print button, then select
Schedule.
* In the
Schedule a Report window, leave the default values in fields and choose the
OK button.

* When the error shows up in the
My Job Queue part, select the error, and then choose
Show Error.
* Read the error message, and then choose the
OK button to close it.

* Open the
Job Queue Log Entries page.
* Filter the list to display entries whose
Status is
Error.
* To view the error message, point to the
Error message field for the entry, or, select the entry, and then on the
Home tab, choose
Show Error Message.
* Return to the Role Center, and then run the
Price List report again.
* On the report request window, set the
Sales Type field to
All Customers, choose
Print, and then choose
Schedule.
* In the
Schedule a Report window, leave the default values in fields and choose the
OK button.
* In the
Report Inbox on the Role Center, view the completed report.