In case you have missed my previous posts here I present the link to all previous posts below.
Microsoft Power BI – Part – I
Introduction to Power BI and Creating Report from Excel Data, Local Files.
Microsoft Power BI – Part – II
Introduction to few Features of Power BI
Microsoft Power BI – Part – III
Power BI Desktop, Creating Dataset & Reports from In Premise Database installation
Microsoft Power BI – Part – IV
Power BI Gateway usage
Microsoft Power BI – Part – V
Scheduling Refresh of Dataset & Report created using In Premise Database
Microsoft Power BI – Part – VI
Power BI Content Pack
Microsoft Power BI – Part – VII
Power BI Mobile App
Microsoft Power BI – Part – VIII
Power BI Content Pack
Sharing key Excel insights just got easier. Save snapshots of important PivotTables, Charts, cell ranges, and more from across all of your spreadsheets to a single location quickly with the Power BI publisher for Excel. Simply highlight the elements you want to save, then click the "Pin to" button: now you’ve got a powerful web dashboard that you can share with everyone in your organization.
Let us see how we can use this feature.
Login to Power BI with your credentials.

From Download Menu Section choose Power BI Publisher for Excel.
Or visit Link: https://powerbi.microsoft.com/en-us/excel-dashboard-publisher/

Select your desired Excel Version 32 or 64 bit as installed on your PC and download the Package.
Close your Excel and Install the Package and follow on screen guide.
After Installation when you open your Excel First time after Installing the Package. You will get similar to below screen.

Sign in with your Power BI Credentials.
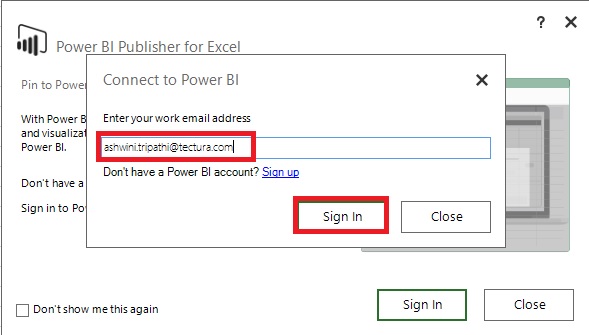
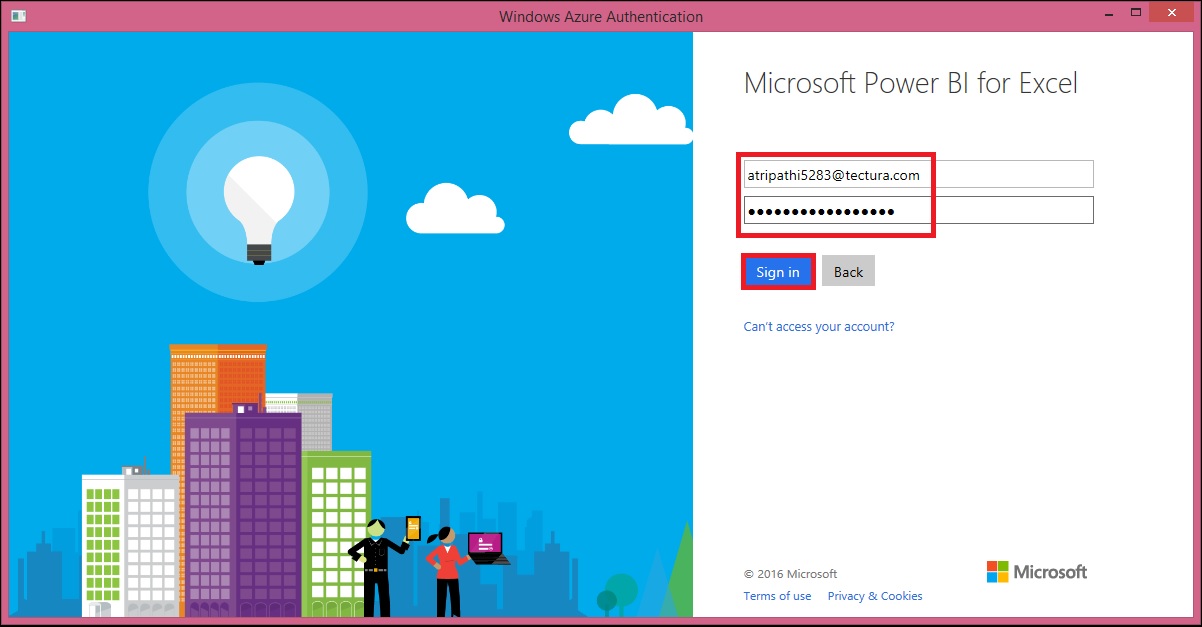
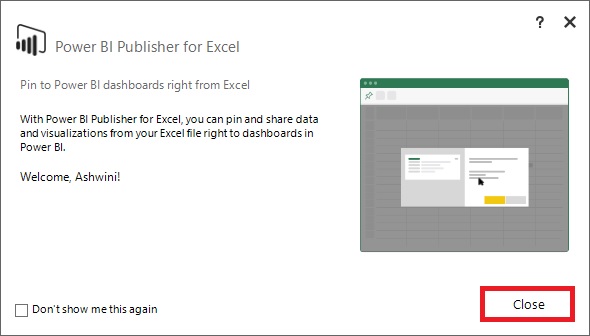
I have created a Pivot in excel as below which I want to share on my Desktop.
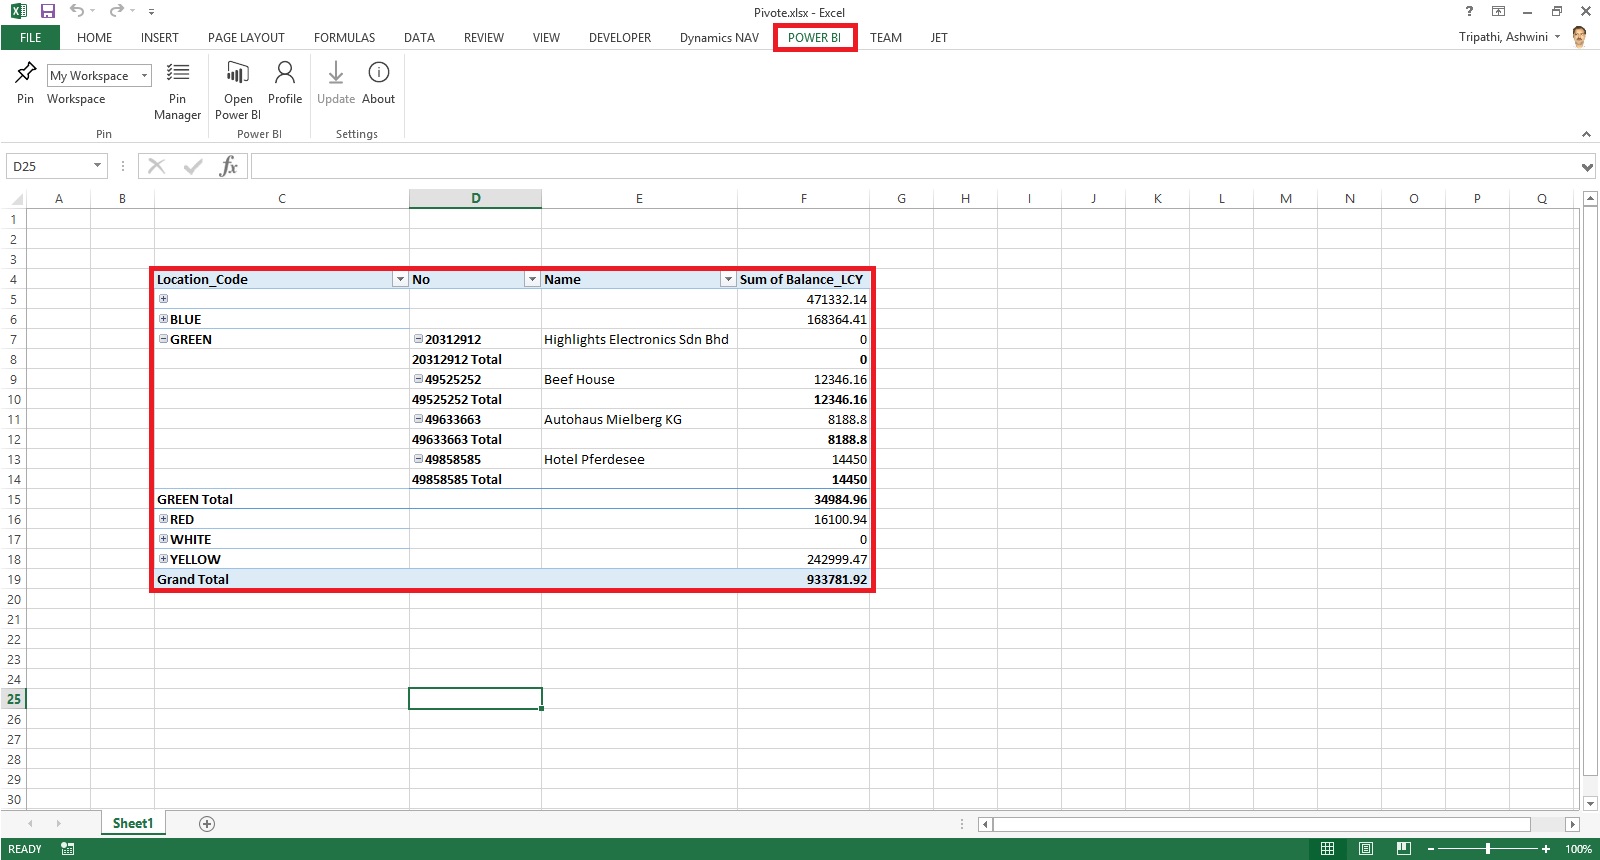
Select the Region/Range that you wish to publish from Power BI choose Pin, as shown below.

In my case I have already pined so confirmation Dialog Box is taken else it will Pin the Selected Range as a snapshot on selected Workspace.

Make sure you select right Workspace before you Pin.

After Publishing you will get confirmation as below.
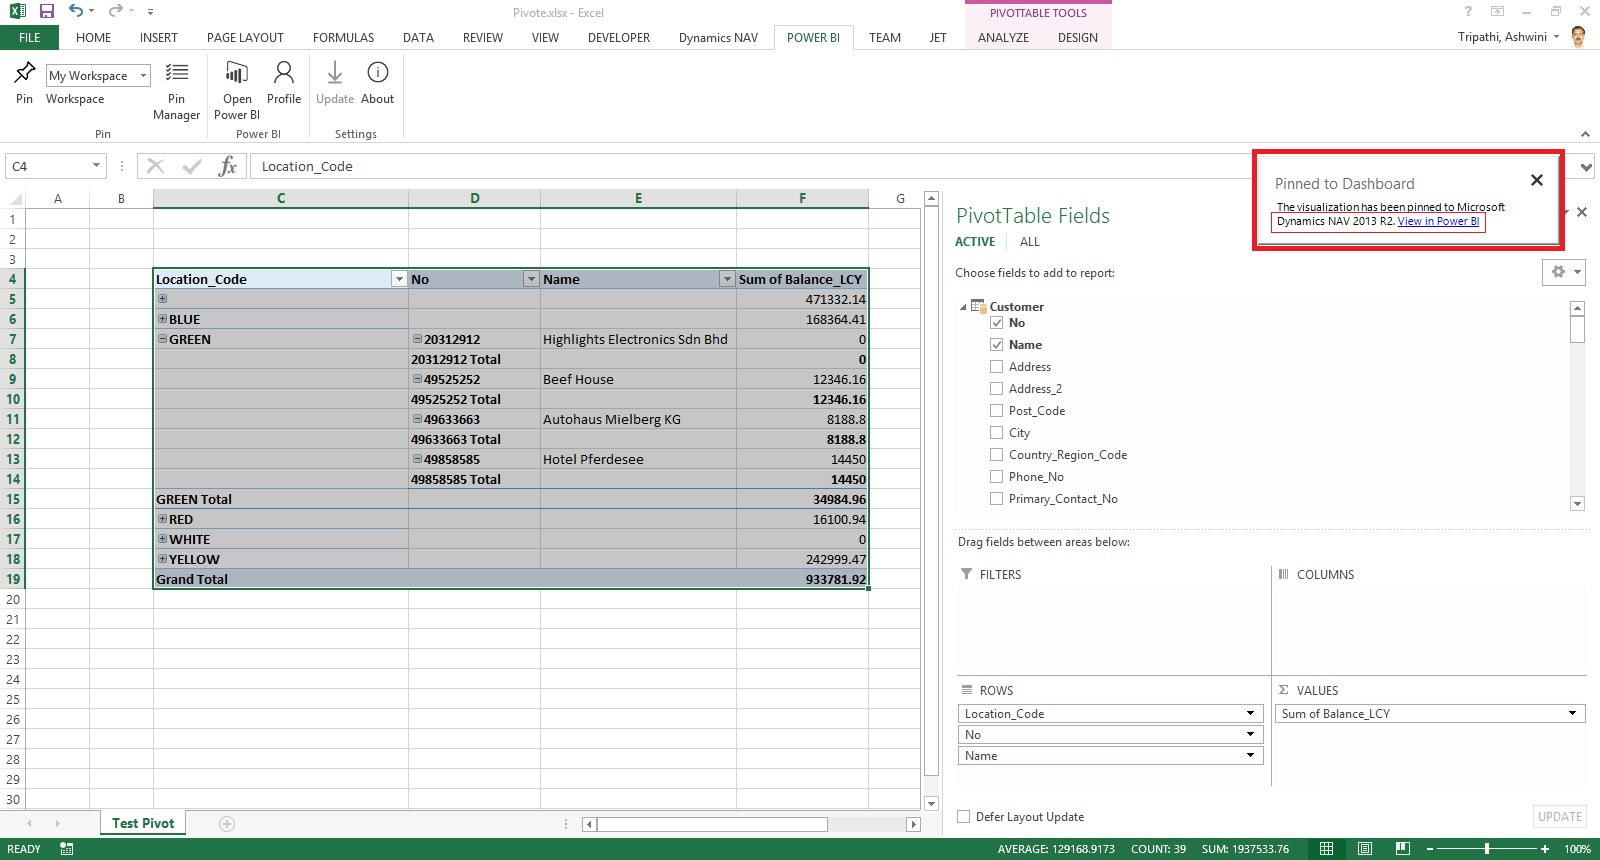
Using the Link, Login with your credentials to the Power BI and switch to the Dashboard on which you published.
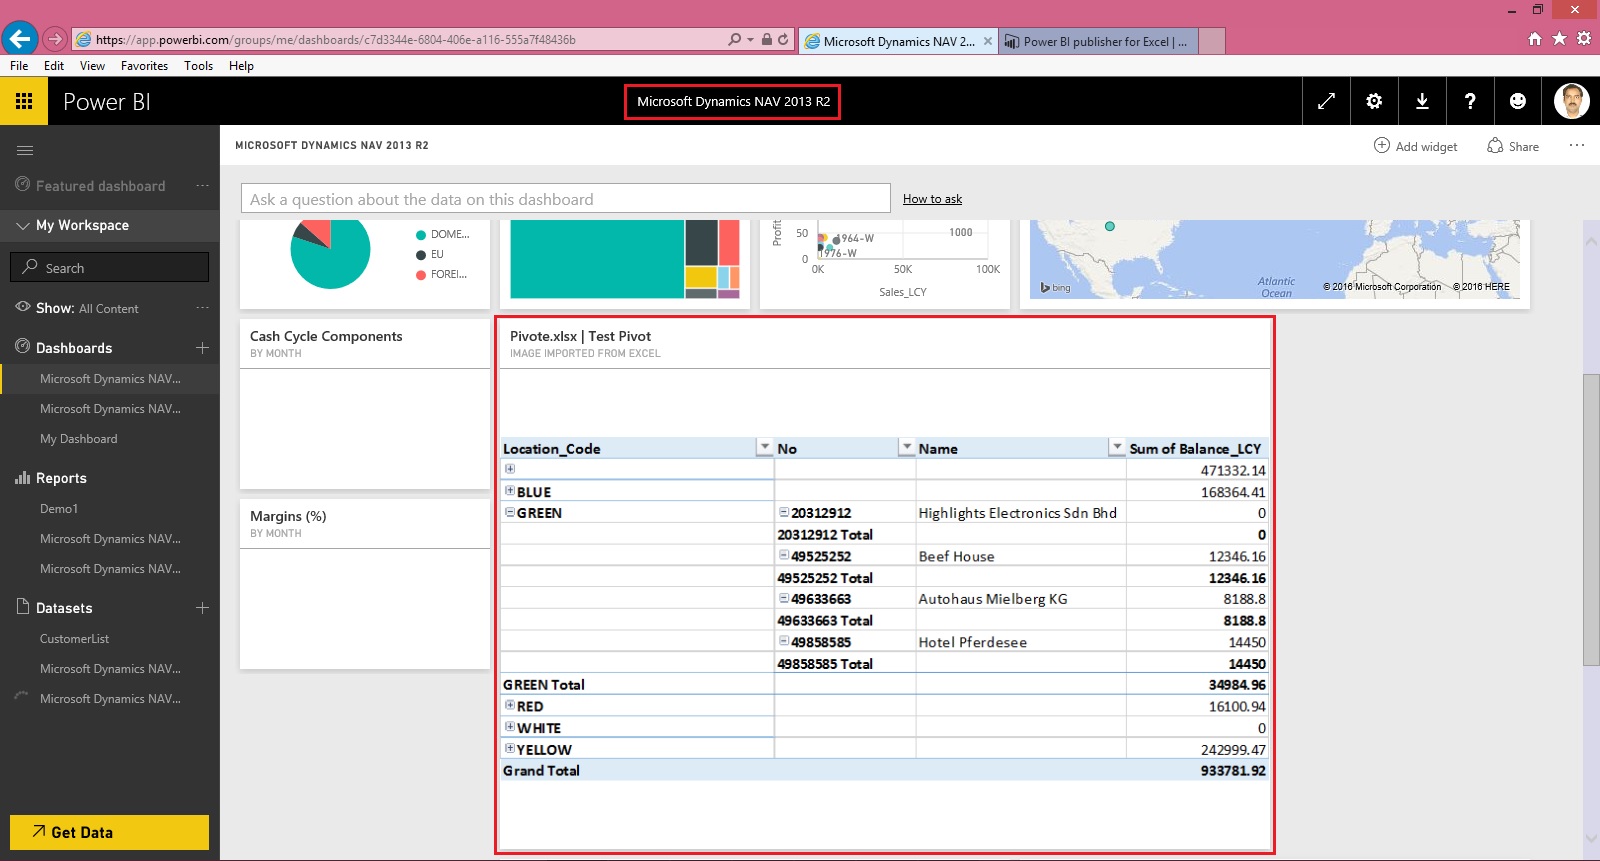
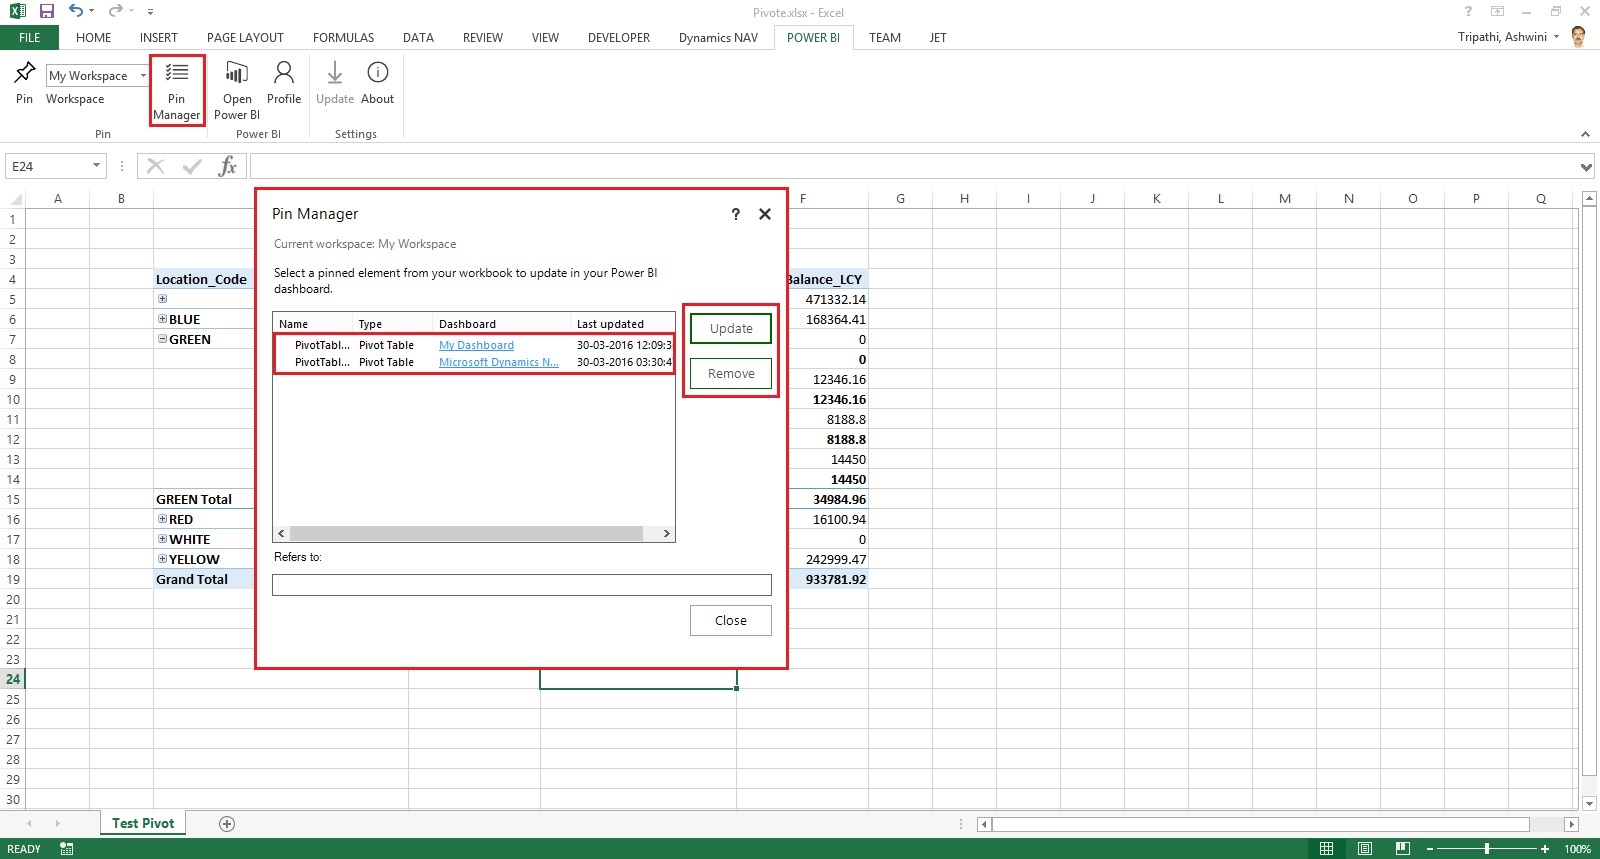
This way you can Pin Snapshot of PivotTables, Charts, cell ranges, and more. You can update existing with new one and manage all your Pins.
Save your Excel and Exit.

Try useful feature.
I will come up with more details in my future posts.
Till then keep practicing and learning using online Blogs, help and documents.
[…] Microsoft Power BI – Part – IX […]
ReplyDelete[…] Microsoft Power BI – Part – IX […]
ReplyDeleteHey, thanks for the blog article.Really looking forward to read more. Cool.
ReplyDeleteP0wer bi onlinetraining from india
P0wer bi onlinetraining