Although still we will not be having direct support for all Languages but using this process you can create one.
To be very fair it will not be easy task for all Languages but for few it could help you much to get you work done with little ease.
See few helpful links which will help you getting done your task:-
Platform strings maintained in managed assemblies and fin.stx and fin.etx files
Configuring Microsoft Dynamics NAV Help Server
To work with Partner Translation Toolkit you will require below, make sure you have all before you start with using this Tool:
- Visual Studio
- WiX Toolset
- Microsoft Translator for ResX
- Azure Data Market account
- Microsoft Translator data service subscribed
- Your NAV License File
- Finally your efforts
Visual Studio:
If you don’t have make sure you install the latest version of the same.
WiX Toolset:
You will require the WiX Toolset to start with you can download from here. Install WiX Toolset version 3.8 or 3.9
Install the WiX Toolset according to the instructions. In my case it is already installed on my system so getting option for Uninstall.
Building the project you require that you have the WiX Toolset version 3.8 or 3.9 installed on the computer.
Microsoft Translator for ResX:
See my previous post for more details here.
Azure Data Market account / Microsoft Translator data service:
See my previous post for more details here.
Steps to get ready for Translation tool:
See my previous post for more details here.
Let’s start with building our project:
Step -1:
Run the “Microsoft.MCSUK.RESXTranslator.exe” Tool
See my previous post for more details here.
Step -2:
Run the “Visual Studio” with opening project solution PartnerTranslations.sln
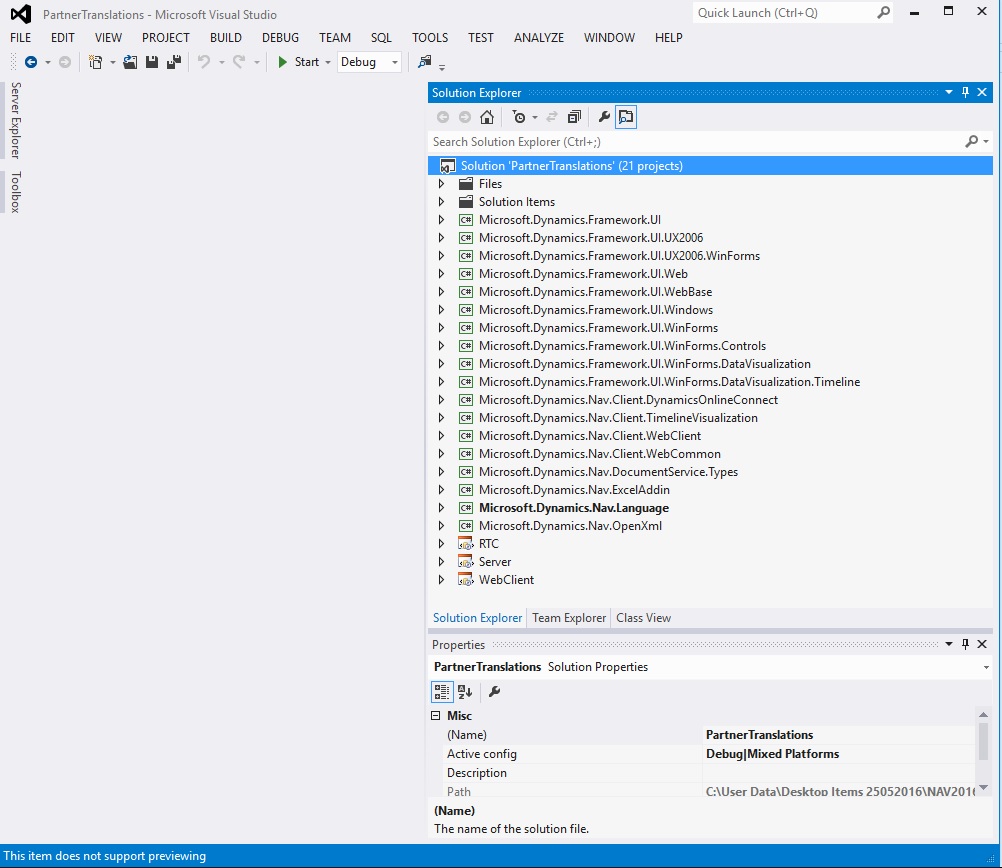
You will see all the projects discussed above is having their own folder in this solution.
Add your all the translated resx files obtained in Step-1 post Translation to respective projects.

Right click on the project folder and choose Add and then Existing Item.
Select the resx file which we translated in Step-1.
In my case I select “Common.Language.Lang.hi-IN.resx”
Similarly you will add these translated files to your all other projects. Be cautious few may have 2-3 files add them all.

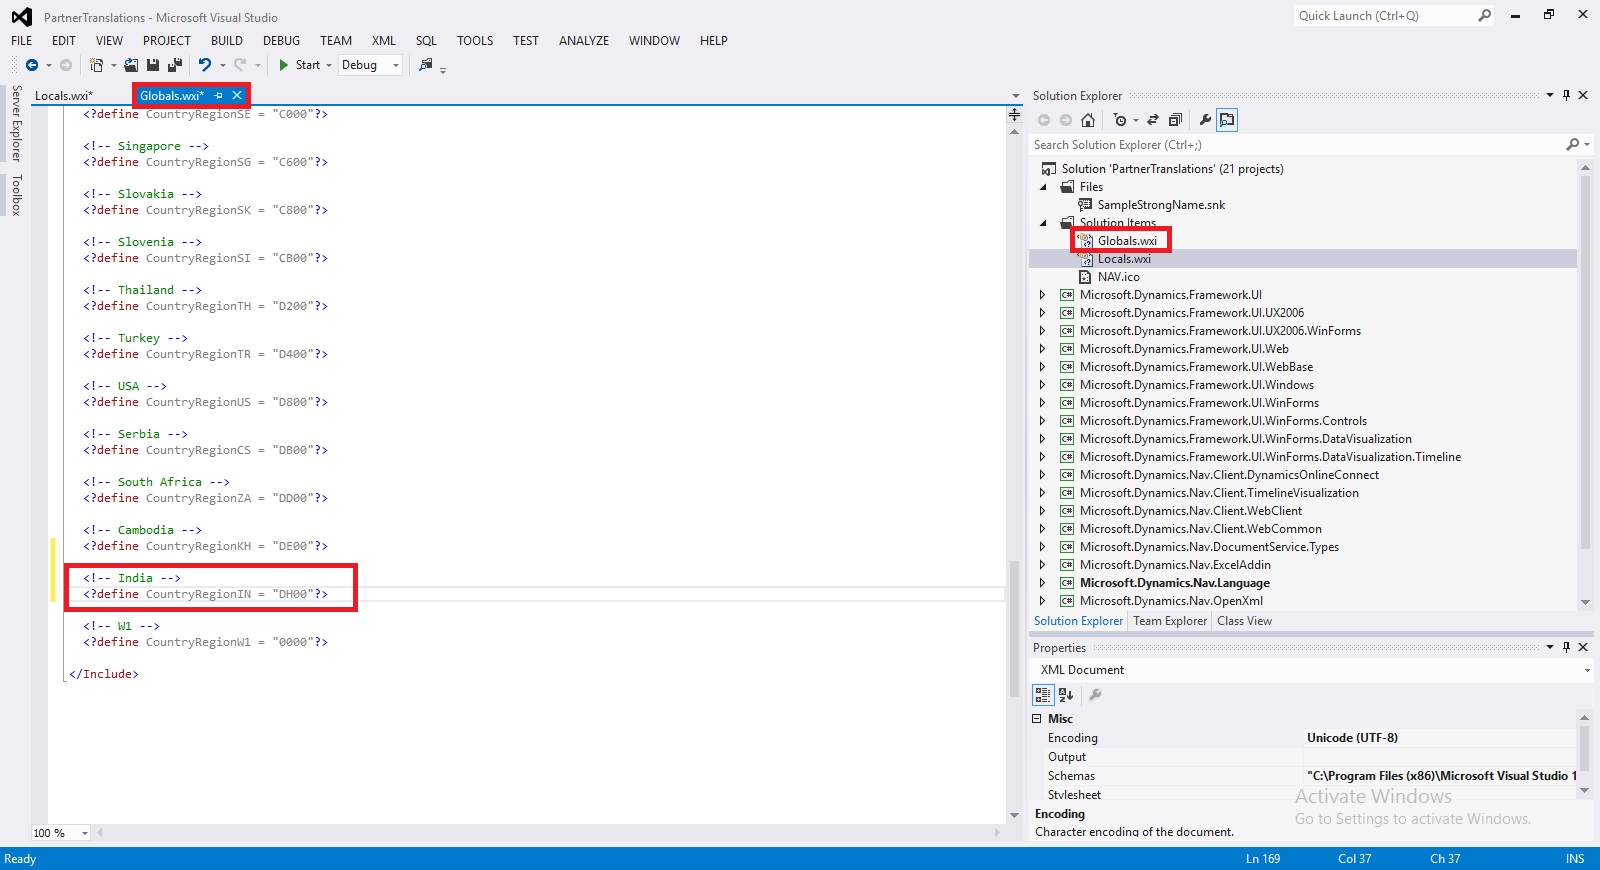
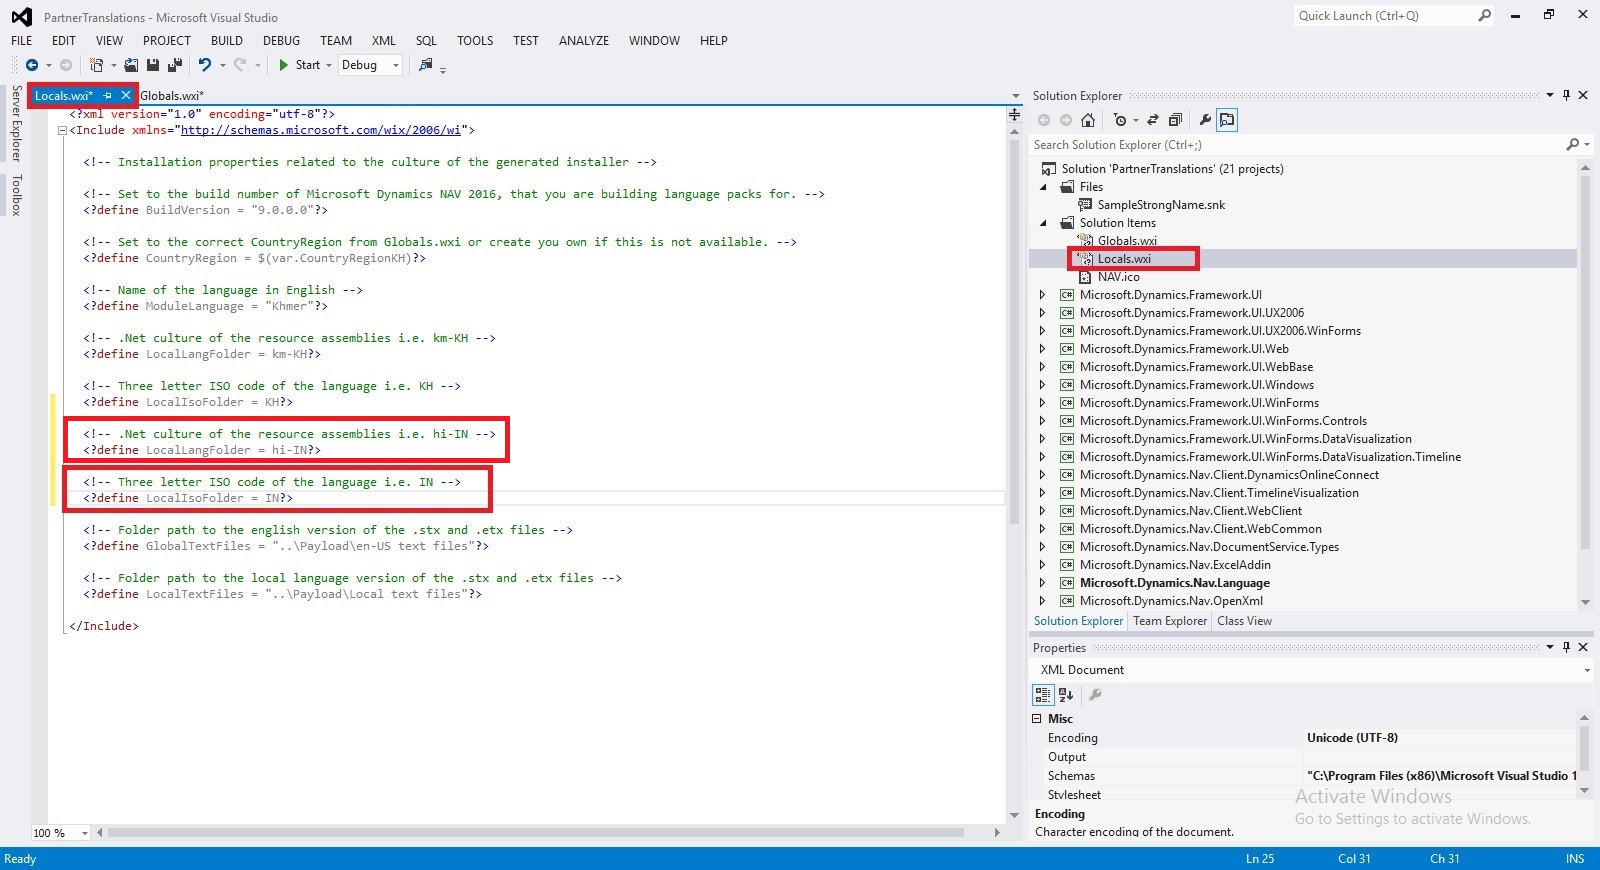
The properties of the installation determine which folders are created during the installation of the language packs and what files are placed in the folders. The properties can be found in the Locals.wxi file located in the root directory of the translation kit. Open the Locals.wxi file and change the following properties:
• CountryRegionCode, to one of the country/region codes in Globals.wxi or create a new.
• ModuleLanguage, to the language of your choice.
• LocalLangFolder, to the .Net culture of the satellite assemblies.
• LocalIsoFolder, to the three letter ISO code for your language.
Step -3:
Build the project PartnerTranslations.sln
To build the PartnerTranslation solution from inside Visual Studio, choose Build Solution from the Build menu. This will pick up all translated artifacts, and create three installer files (.msi):
- Server.msi – Located in the Server\Bin\Debug folder.
- RTC.msi – Located in the RTC\Bin\Debug folder.
- WebClient.msi – Located in the WebClient\Bin\Debug folder.
Step-4:
Copy your Language Module Files and install on desired Server & Client

Install – Add your language pack to the W1 version
If have not already done so, install the W1 version of Microsoft Dynamics NAV 2016 from the product media.
Install the new language Pack
Next, install the new language pack on the same computer. To do this, select and click each of the three .msi files listed below, one after the other. The order is not significant:
- Server\Bin\Debug\Server.msi
- RTC\Bin\Debug\RTC.msi
- WebClient\Bin\Debug\WebClient.msi
Each installer quickly shows a dialog, which disappears when the installer has completed.
The language pack is now installed, but you must make some final configuration.
I will comeup with more details in my next posts.
[…] Working with Partner Translation Toolkit […]
ReplyDelete