To follow Step by Step you need to do a small setup:
Open the User Personalization and Set your Profile ID as below:

Select your Profile as “SMALL BUSINESS”
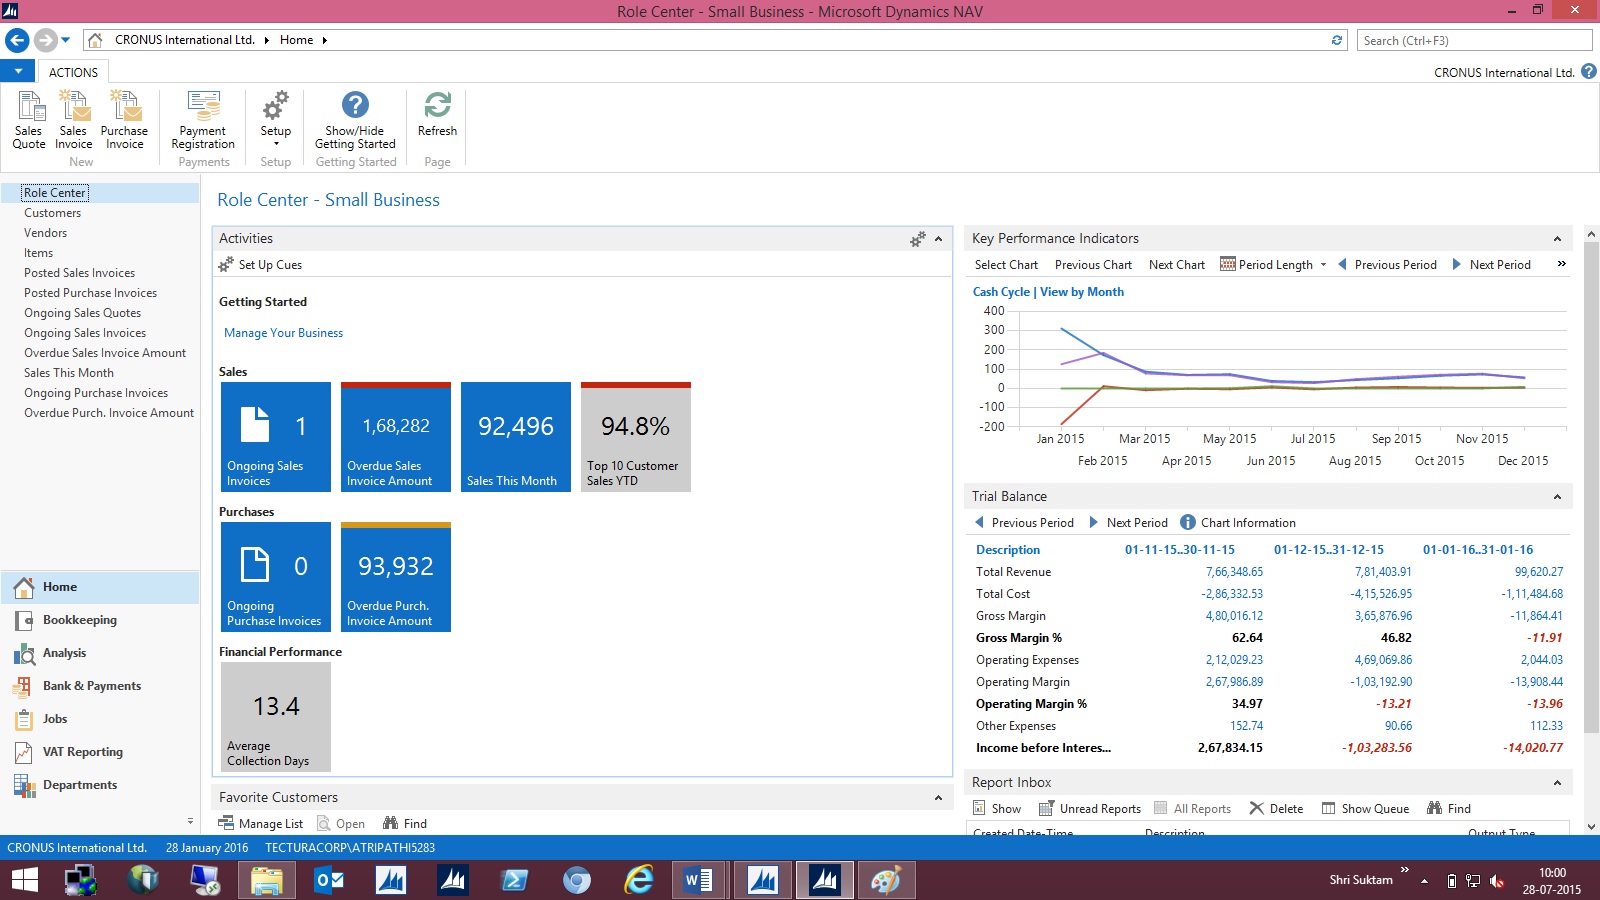
Your Role Center will look like below:
- On the Role Center, choose Ongoing Sales Invoices to open the list of ongoing sales Invoices.
- On the Home tab, in the New group, choose New to create a new sales invoice.
- In the Customer Name field, type the name of the new customer, and then press Enter or Tab to leave the field
Create the sales invoice for the new customer.
Notice that some fields are marked with red asterisks to tell which fields must be filled.

- In the pop-up dialog, choose Yes to create the new customer
- In the Templates window, select Customer DOMESTIC (or as desired), and then choose the OK button.

- The Customer Card window opens in edit mode. Choose the OK button to close it.

- The page closes and focus is back on the sales invoice that is now updated with the customer data.
- In the Sales Invoice window, on the Lines FastTab, create a new line:
Enter some line data for example : Item No.: 1001, Quantity: 10
- On the Home tab, in the Posting group, choose Post.
- Choose Yes.

- Choose No to review the posted sales invoice, as of now we don’t require.
Helpful where we require instant Customer registration for recording the Orders. Later we will fill out rest of the details regarding Customer.
[…] posted sales invoices, select the sales invoice that you posted in previous post, if not done click here to see the process we followed in earlier […]
ReplyDelete[…] Bron : Ashwini Tripathi Lees meer… […]
ReplyDelete