The Jet Scheduler is a powerful tool that allows users to schedule reports to be automatically run by the Windows Task Scheduler. The user can also control where the output file is saved to, if the report should be emailed once it has been generated, and the output format of the report.
Creating a New Scheduled Task
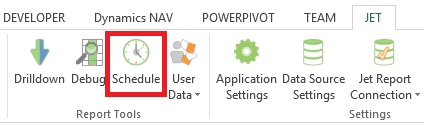
To set up a scheduled report, open the report in Excel, click the Jet ribbon, and click the Schedule button.
Click the New Task... button to schedule a new task.
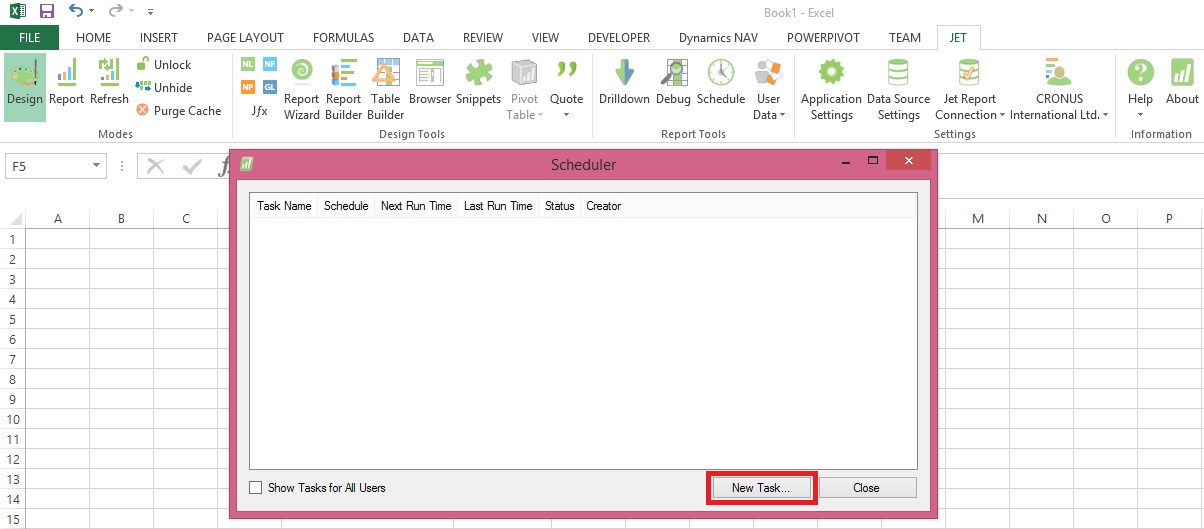
The Scheduled Task window will now appear.
Reports Tab
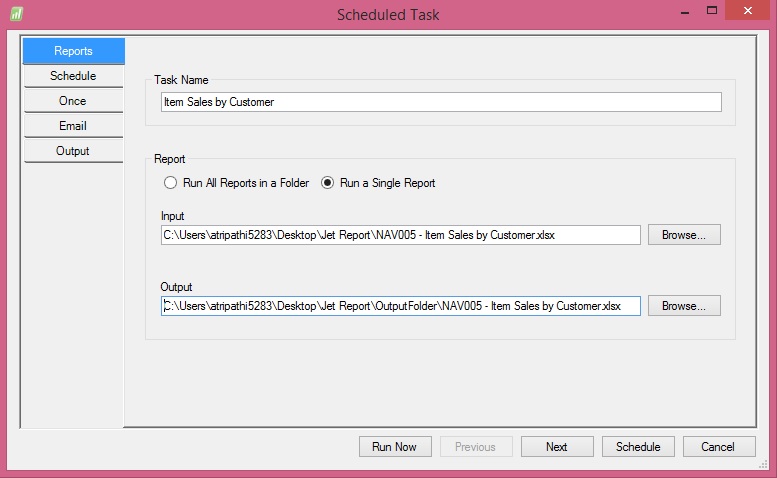
The Reports tab contains general information about the scheduled task.
- Task Name: This represents the name of the task as it will appear in the Scheduled Task window to the user.
- Run All Reports in a Folder: This button will enable the user to schedule all Jet Reports in a full to be run
- Run a Single Report: This button will enable the user to schedule a single Jet Report to be run
- Input: This represents the folder and file name of the report that will be run
- Output: This represents the folder and file name of where the finished report will be saved
Schedule Tab
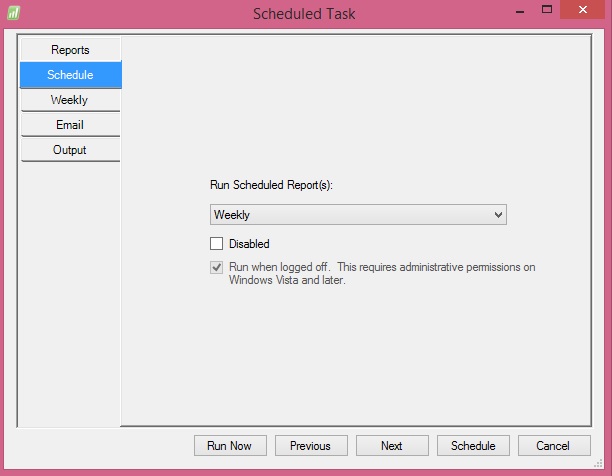
This tab will define the frequency of how often the report will be run as well as if the task is currently disabled and if the report should be run when the user is logged off.
The available options for the frequency are:
- Once: The report will only be run one time
- Daily: The report will be run every day (it is possible to set on the next tab the number of days to wait between runs)
- Weekly: The report will be run every week (it is possible to set on the next tab the days of the week for the report to be run on)
- Monthly: The report will be run every month (it is possible to set on the next tab the months for the report to run on and the days of the month for the report to be run on)
- When Idle: The report will run every time that the computer goes into idle mode
- At Startup: The report will be run each time that the computer is turned on
- At Logon: The report will be run each time that the user logs on to the computer
Frequency Tab
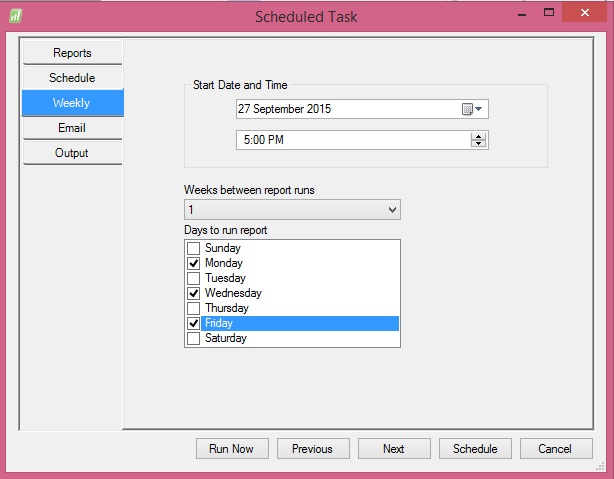
The name of this tab will change depending on the frequency specified on the Schedule tab.
In the screenshot above a Weekly frequency has been specified.
- Start Date and Time: This represents the first date that the report will run and the time that it will run for this and subsequent schedules
- Weeks between report runs: This specifies how many weeks the Scheduler will wait between report runs before running the report again
- Days to run report: This represents the days of the week that the report is scheduled to run on
Email Tab
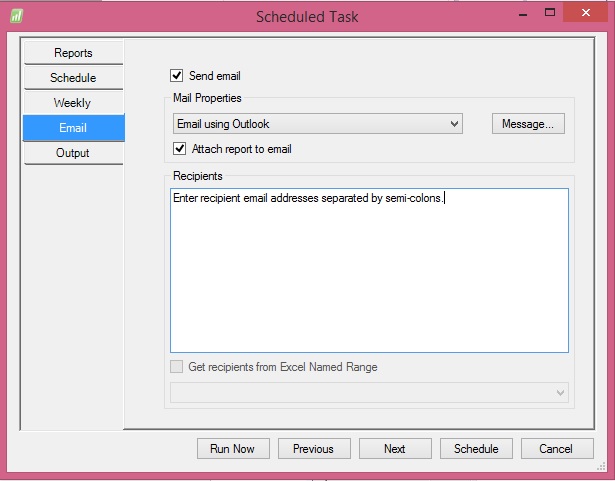
The Email tab allows the user to define who the report will be sent to if emailing is desired.
- Send email: If this box is checked it will enable the report to be emailed to recipients
- Mail properties: This dropdown will allow the user to specify whether the report will be emailed using Outlook or a generic SMTP protocol. SMTP must be configured in the Jet Essentials Application Settings in order for it to be used.
- Message: This allows the user to specify a custom subject or body to be sent as part of the email
- Attach report to email: If this box is checked the report will be attached to the email. If the box is unchecked the report will not be attached. This can be used as a type of notification when used in conjunction with the subject and body of the email to allow a user to know that the report has been run
- Recipients: Email addresses will be specified here for all recipients of the report. Email addresses should be separated by a semi-colon.
- Get recipients from Excel Named Range: It is possible to also define the email addresses in the report itself and then assign an Excel named range to the cell(s). If there are named ranges in the report then they will appear in the dropdown below the checkbox. The Output tab allows the user to define how the file should be saved once it is finished running. This tab also enabled the user to turn on logging to troubleshoot errors with the Scheduler process as well as use Batch File Generation for the reports.
Output Tab
The Output tab allows the user to define how the file should be saved once it is finished running. This tab also enabled the user to turn on logging to troubleshoot errors with the Scheduler process as well as use Batch File Generation for the reports.
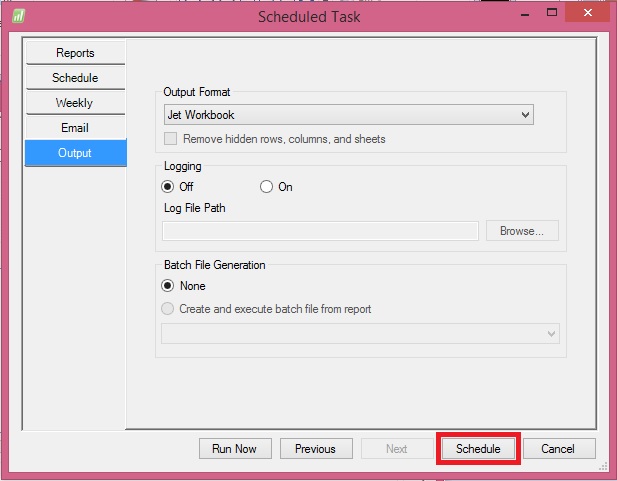
- Output Format: This dropdown list will allow the user to define the format of the finished report. The available options are:
- Jet Workbook: This will save the report as a normal Excel file with all Jet Reports functions still in the report
- Values Only Workbook: This will save the report as an Excel file with all Jet Reports functions removed. The recipient would not be able to refresh the report as it will be a static Excel file
- Web Page: This will save the report as a HTML file with a single sheet. This should be used when there is a single sheet in the report
- Web Page by Sheet: This will save the report as a HTML file with multiple sheets embedded in it. This should be used when there are multiple sheets in a report
- PDF: This will save the report as a PDF file (if your version of Excel supports that ability - Excel 2007 and higher)
Remain tuned for more details, I will come up with more details and features in my upcoming posts.
[…] How to Use the Jet Report Scheduler […]
ReplyDelete